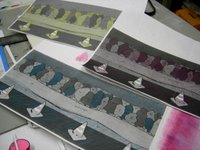
First, I decided the order and the color of the plates. I did the first image with colored paper, and then I made xerox copies. (Note: the orientation of the drawing on the copy machine changed the result)
Primero: decidir el ordern y el color de las placas, la primera imagen la hice con papel de colores y luego le saque varias copias. (Nota: la orientacion de la imagen en la copiedora cambia el resultado)
Next: I picked the color that had more detail; in this case is the blue one, and carved that plate first so it can be used as key plate.
Siguiente paso: Elegi el color que tuviera mas detalles; en este caso el azul, y escarve la placa para usarla como llave.
Once it was finished, I inked the plate and transfer the ink to an acetate and then to the other two plates. Una vez terminada, laentinte y transferi la tinta a un acetato y despues este a las otras dos placas.
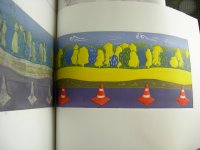
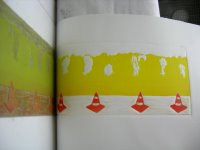
First plate; I inked and printed the orange cones first, then I wiped off the orange ink and inked and printed the yellow.
Primera placa; primero entinte e imprimi los conos anaranjados, despues limpie la placa y entinte e imprimi el amarillo.
 Second plate; the paper was left on the press to prevent it from moving out of the registration marks.
Segunda placa; deje el papel bajo el rodillo de la prensa para evitar que se moviera de las marcas de registro.
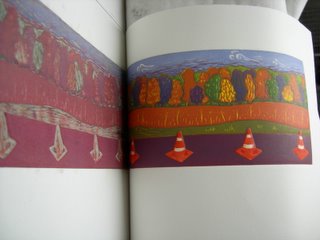
Last plate
Ultima placa
Last step: cleaning up.
Ultimo paso: limpiar.


No comments:
Post a Comment